Press Fit 3D Modeling
This assignment was to create panels that could press fit together like a puzzle and make a cube.
I wanted to be able to change the size of the panel and number of tabs, so I made a Grasshopper program to do that. I started with a square and added boxes around it. The program actually makes two different types of panels that fit together to form the box. I also included an "interference" variable to adjust the width of of each tab.
The part where I struggled was with trimming the boxes and square so that where they overlapped wouldn't have a line. I could not figure out how to do that, so I had to remove the lines manually with each new iteration of my design.
Below is information and finds for each iteration of printing. Every trial was done on Low Quality with all default settings, aside from what is specified.
TRIAL 1
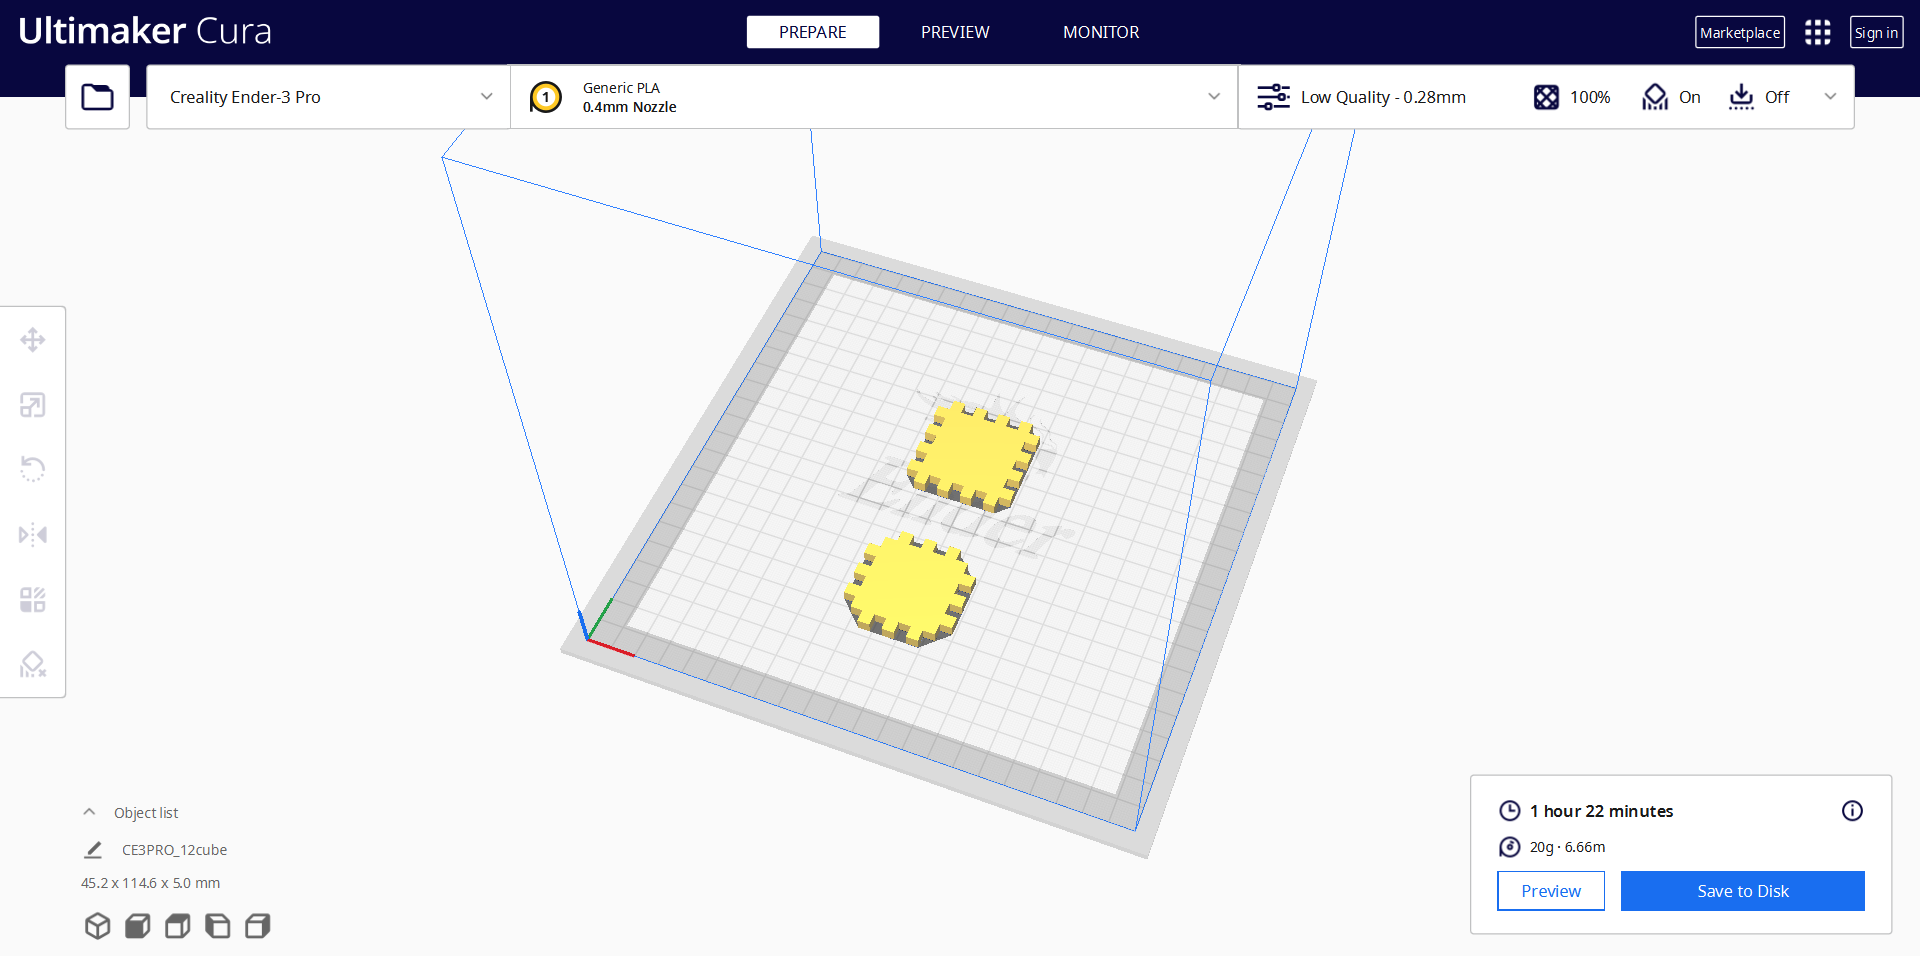
Below is how this trial looked rendered, and how it turned out after printing:
- Inference: 0
- Infill: 100%
- Top/Bottom Thickness: 0
- Special Feature: None
- Thoughts: For this first iteration I just wanted to see if my pieces would print properly. There was no interference on them so of course they didn't fit together. I noted that they were very dense and heavy, so 100% infill might not be necessary.
Below is how this trial looked rendered, and how it turned out after printing:
TRIAL 2
Below is how this trial looked rendered, and how it turned out after printing:
- Interference: 0.15mm
- Infill: 50%
- Top/Bottom Thickness: 0
- Special Feature: Attempt to print entirely hollow with 0.8 thickness around the edges in order to save time and filament. It didn't work.
- Thoughts: I tried to use what I had learned from my last attempt in this one. Unfortunately, my printer ran out of filament before the print was able to finish. Luckily, it has printed enough that I could put the pieces together and know that I added too much interference. I also cut each piece in half to see how it fit with itself. Again, too loose, and also I didn't like the pattern of the infill very much.
Below is how this trial looked rendered, and how it turned out after printing:
TRIAL 3
This is how it looked after printing:
- Interference: 0.14 mm
- Infill: 100%
- Top/Bottom Thickness: 0
- Special Feature: Large hole in middle to save time and filament
- Thoughts: I experimented with different combinations of the 0.14 interference and 0 interference pieces, and found the best combination to be 0.14 interference on the 4-tabbed panel, 0 interference on the tabbed panel.
This is how it looked after printing:
TRIAL 4
Below is how this trial looked rendered, and how it turned out after printing:
- Interference: 0.14
- Infill: 100%
- Top/Bottom Thickness: 0
- Special Feature: Filament Monster
- Thoughts: For this trial I tried to print out 6 0.14mm interference panels. It completely failed. I left it to print overnight and I have absolutely no idea what could have happened. In the morning the print was a mess and the rubber bit on the nozzle had fallen off. I reattached it and re-leveled the bed. I think the bed may have been too low.
Below is how this trial looked rendered, and how it turned out after printing:
CATASTROPHIC EVENT
So I woke up the next morning to find, as you just learned, a huge mess. But that's not even what was so catastrophic. The catastrophic part was that I picked up the two 0.14mm interference pieces I made in trial 3, put them together, and thought "What was I thinking? These are too loose. I need to do more interference trials clearly." I did not look at my notes and that is the explanation for what follows
So I woke up the next morning to find, as you just learned, a huge mess. But that's not even what was so catastrophic. The catastrophic part was that I picked up the two 0.14mm interference pieces I made in trial 3, put them together, and thought "What was I thinking? These are too loose. I need to do more interference trials clearly." I did not look at my notes and that is the explanation for what follows
TRIAL 5
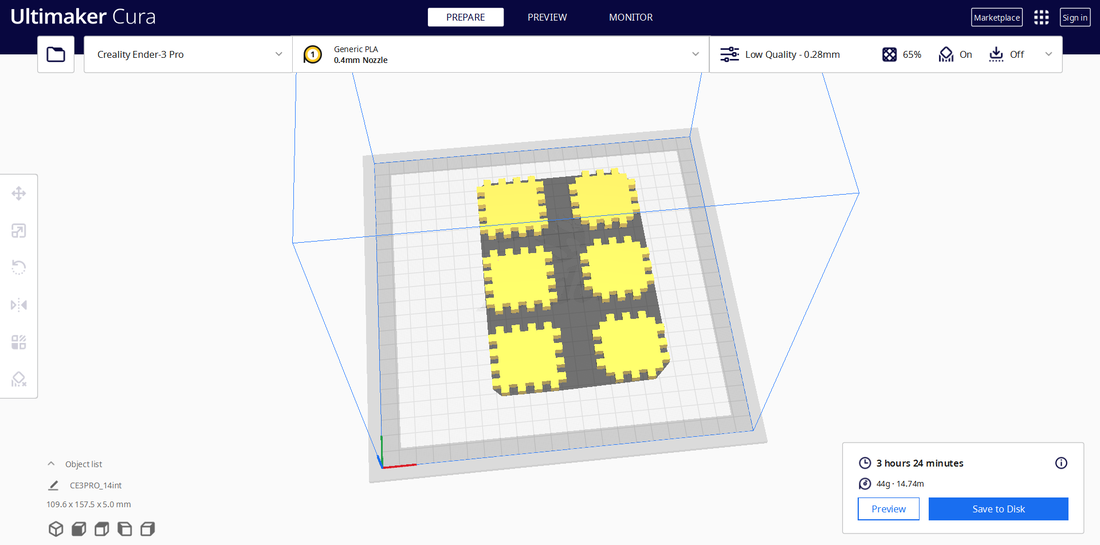
Below is how this trial looked rendered, and how it turned out after printing:
- Interference: 0.13mm and 0.12mm
- Infill: 65%
- Top/Bottom Thickness: 0
- Special Feature: Square hole in middle and pentagonal hole in middle.
- Thoughts: These pieces printed just fine, and I decided that the 0.12mm interference panels fit together better than the 0.13mm interference panels. It did not occur to me, as it had the night before, that I could mix and match. So I decided that final thing I had to do was print 3 4-tabbed 0.12mm interference panels and 3 3-tabbed 0.12mm interference panels. I also decided to go with the 65% infill, it did not looks as good but it would be a lot faster.
Below is how this trial looked rendered, and how it turned out after printing:
TRIAL 6
Below is how this trial looked rendered, and how it turned out after printing:
- Interference: 0.12mm
- Infill: 65%
- Top/Bottom Thickness: 0.1mm
- Special Feature: None
- Thoughts: In the last trial I had measured thickness of the newly printed panels and found them to each be around 0.1 or 02. For that reason I decided to add a top and bottom thickness to this print. Unfortunately, I think that messed things up and the 0.14mm interference pieces won't go together very well. But they do fit very nicely with the 0 interference panels, just like what I'd observed before and then forgot. I manage to squish something together.
Below is how this trial looked rendered, and how it turned out after printing:
SECOND CATASTROPHIC EVENT
I am just now realizing I will need a third piece to go on the top and bottom of the cube so that it actually in enclosed.
I am just now realizing I will need a third piece to go on the top and bottom of the cube so that it actually in enclosed.
TRIAL 7
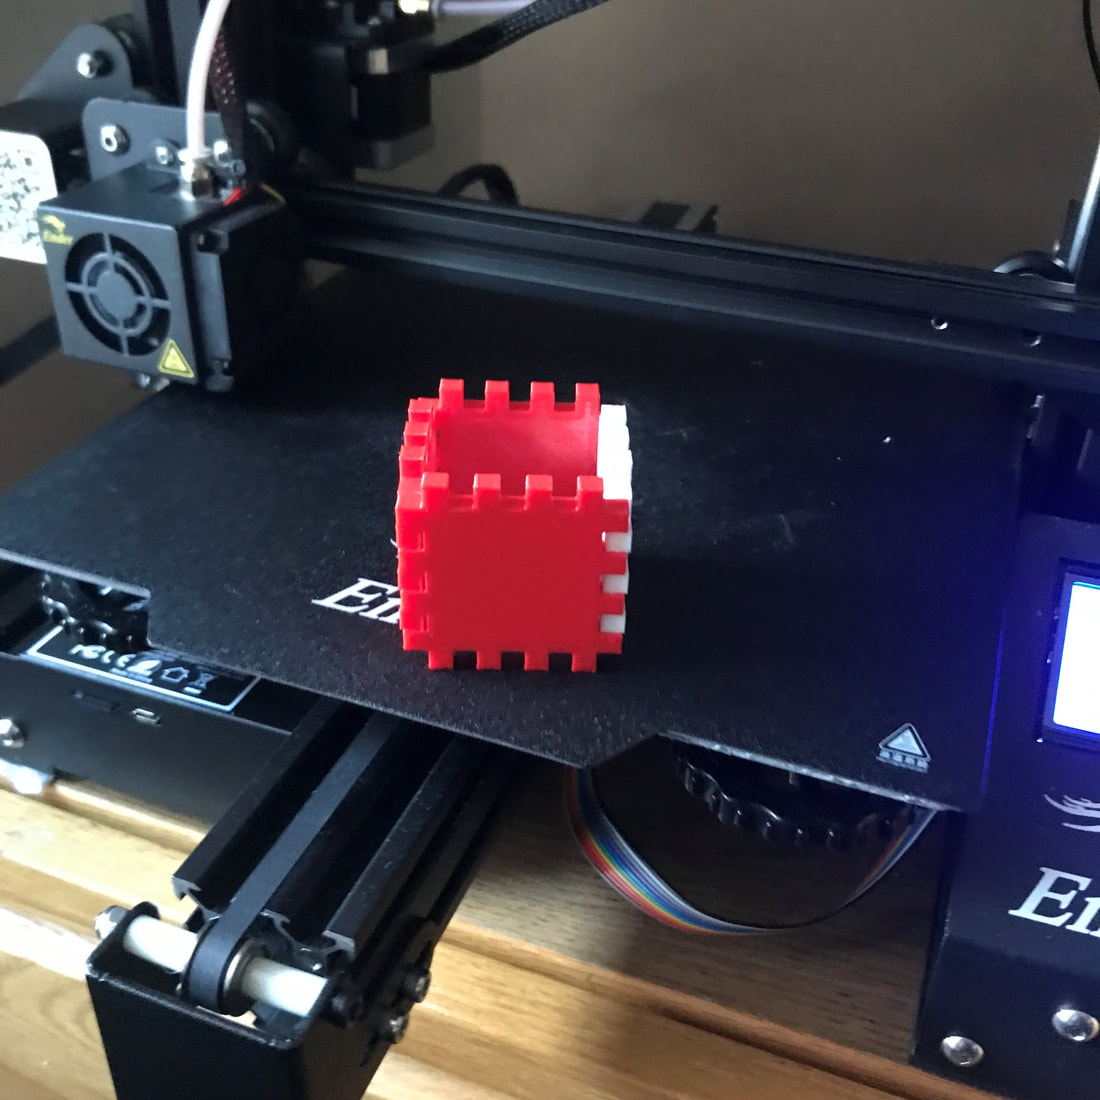
And this is the final product!
- Interference: 0.15mm
- Infill: 65%
- Top/Bottom Thickness: 0
- Special Feature: Includes both 4 tabbed sides and 3 tabbed sides
- Thoughts: I opted to use 0.15 interference and 0 Top/Bottom thickness because the pieces salvaged from trial two fit nicely into the open-ended cube I have created.
And this is the final product!


